Article
Pickle in the Nickel (of Time)
Pickling can be just that—a pickle. True pickling is an ancient miracle for food preservation, but involves a drawn-out fermentation process requiring canning equipment, sterilization procedures and a whole lotta waiting around. Kudos to you if that’s up your alley, but the truth is, some of us simply don’t have the time or patience to be as DIY-savvy as our worldly ancestors.
So if you’re a little fickle about pickling, we understand. But did you know that there’s a fast and easy way to preserve and chill those fresh garden veggies without having to wear a lab coat?
Allow us to introduce quick pickling for those of you not ready to go all in. Where science meets cool foodie niche.
1. Pick your pickle
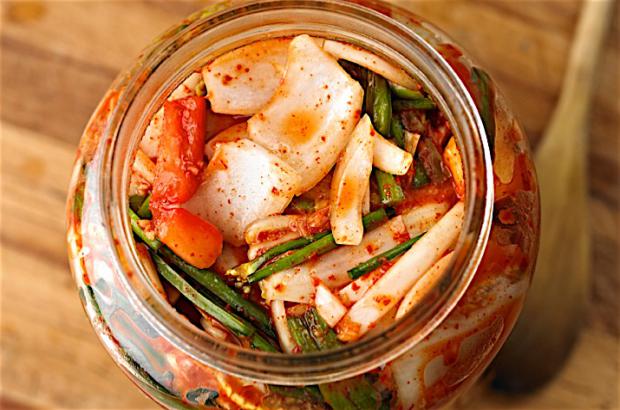
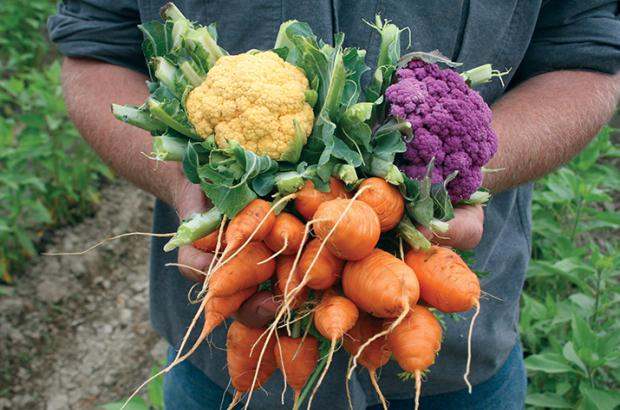
Although cucumbers are the most common for pickling, you can pickle almost any vegetable such as baby carrots (not the bitty mature carrots which you find in packages, but miniature immature ones with the skin still on), shallots, onion, asparagus, cauliflower, green beans, zucchini, okra, and beyond. The fresher and crispier the produce, the better the final product.
2. Prep the potion
The main ingredient in pickle brine is vinegar. White vinegar is most common, but you can also use cider vinegar or wine vinegar, just not balsamic because it’s too syrupy. Combine 1 cup vinegar with 1/2 cup water.
Add a few pinches of good ole NaCl. Salt draws moisture out of the vegetables, and encourages the growth of useful bacteria.
Finally, spice it up. This is where it gets fun. Many "pickling spice" blends are available and work beautifully, but warning, we might judge you for being boring (JK!). Consider a visit to the bulk aisle at your local food co-op, and try making your own blend with mustard seed, dill seed, dry coriander seed, red pepper flakes, bay leaf, black peppercorns or garlic.
Combine all the ingredients in a saucepan, stir to dissolve, and bring to a boil.
Try This: Instead of diluting the vinegar with water, try including a 1/2 cup of white or brown sugar with a dash of cinnamon. Engage those senses!
3. Prep your veggies
Trim off any inedible pieces of your vegetable (e.g., the ends of green beans or root ends of onions). If you're cutting your vegetables into pieces, make sure they're all about the same size for pickling consistency.
4. Submerge and chill.
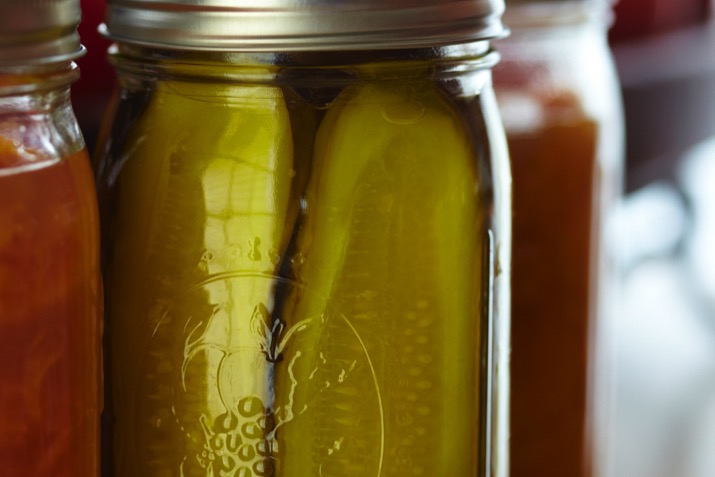
Place your vegetables in a clean, dry container.
Glass jars are the best because they won’t absorb any odors from the pickles (here’s to reuse!) and they’re oh-so lovely.
Pour the boiling brine into the jar and submerge the veggies completely (you can add water to bring up the level if needed). Refrigerate for at least one hour and let the brine work its charms. The longer you brine, the tastier the pickle.
Depending on your veggie, quick pickles keep in the fridge for weeks, if not months, meaning constant crunchy snacks galore. So holler, pickling is a pickle no longer! Pickle that! Pickle!
You may also like
|
|
 |
 |